
🖥️Pockitle Cue for Mac
Set up projector settings
Choose screens, languages, text size, safe area, and projection layout.
Projector Settings: format and calibrate outputs
Purpose: Configure output count, displays, projection layout, and calibration tools. The deployed show locks output languages.
How to open this page: In Live Console, select Projector Settings. It remains available during Live. Connect the theatre displays before mapping outputs, then inspect each output you intend to use. During Live, browsing a Preview cue does not replace the cue currently shown to the audience.
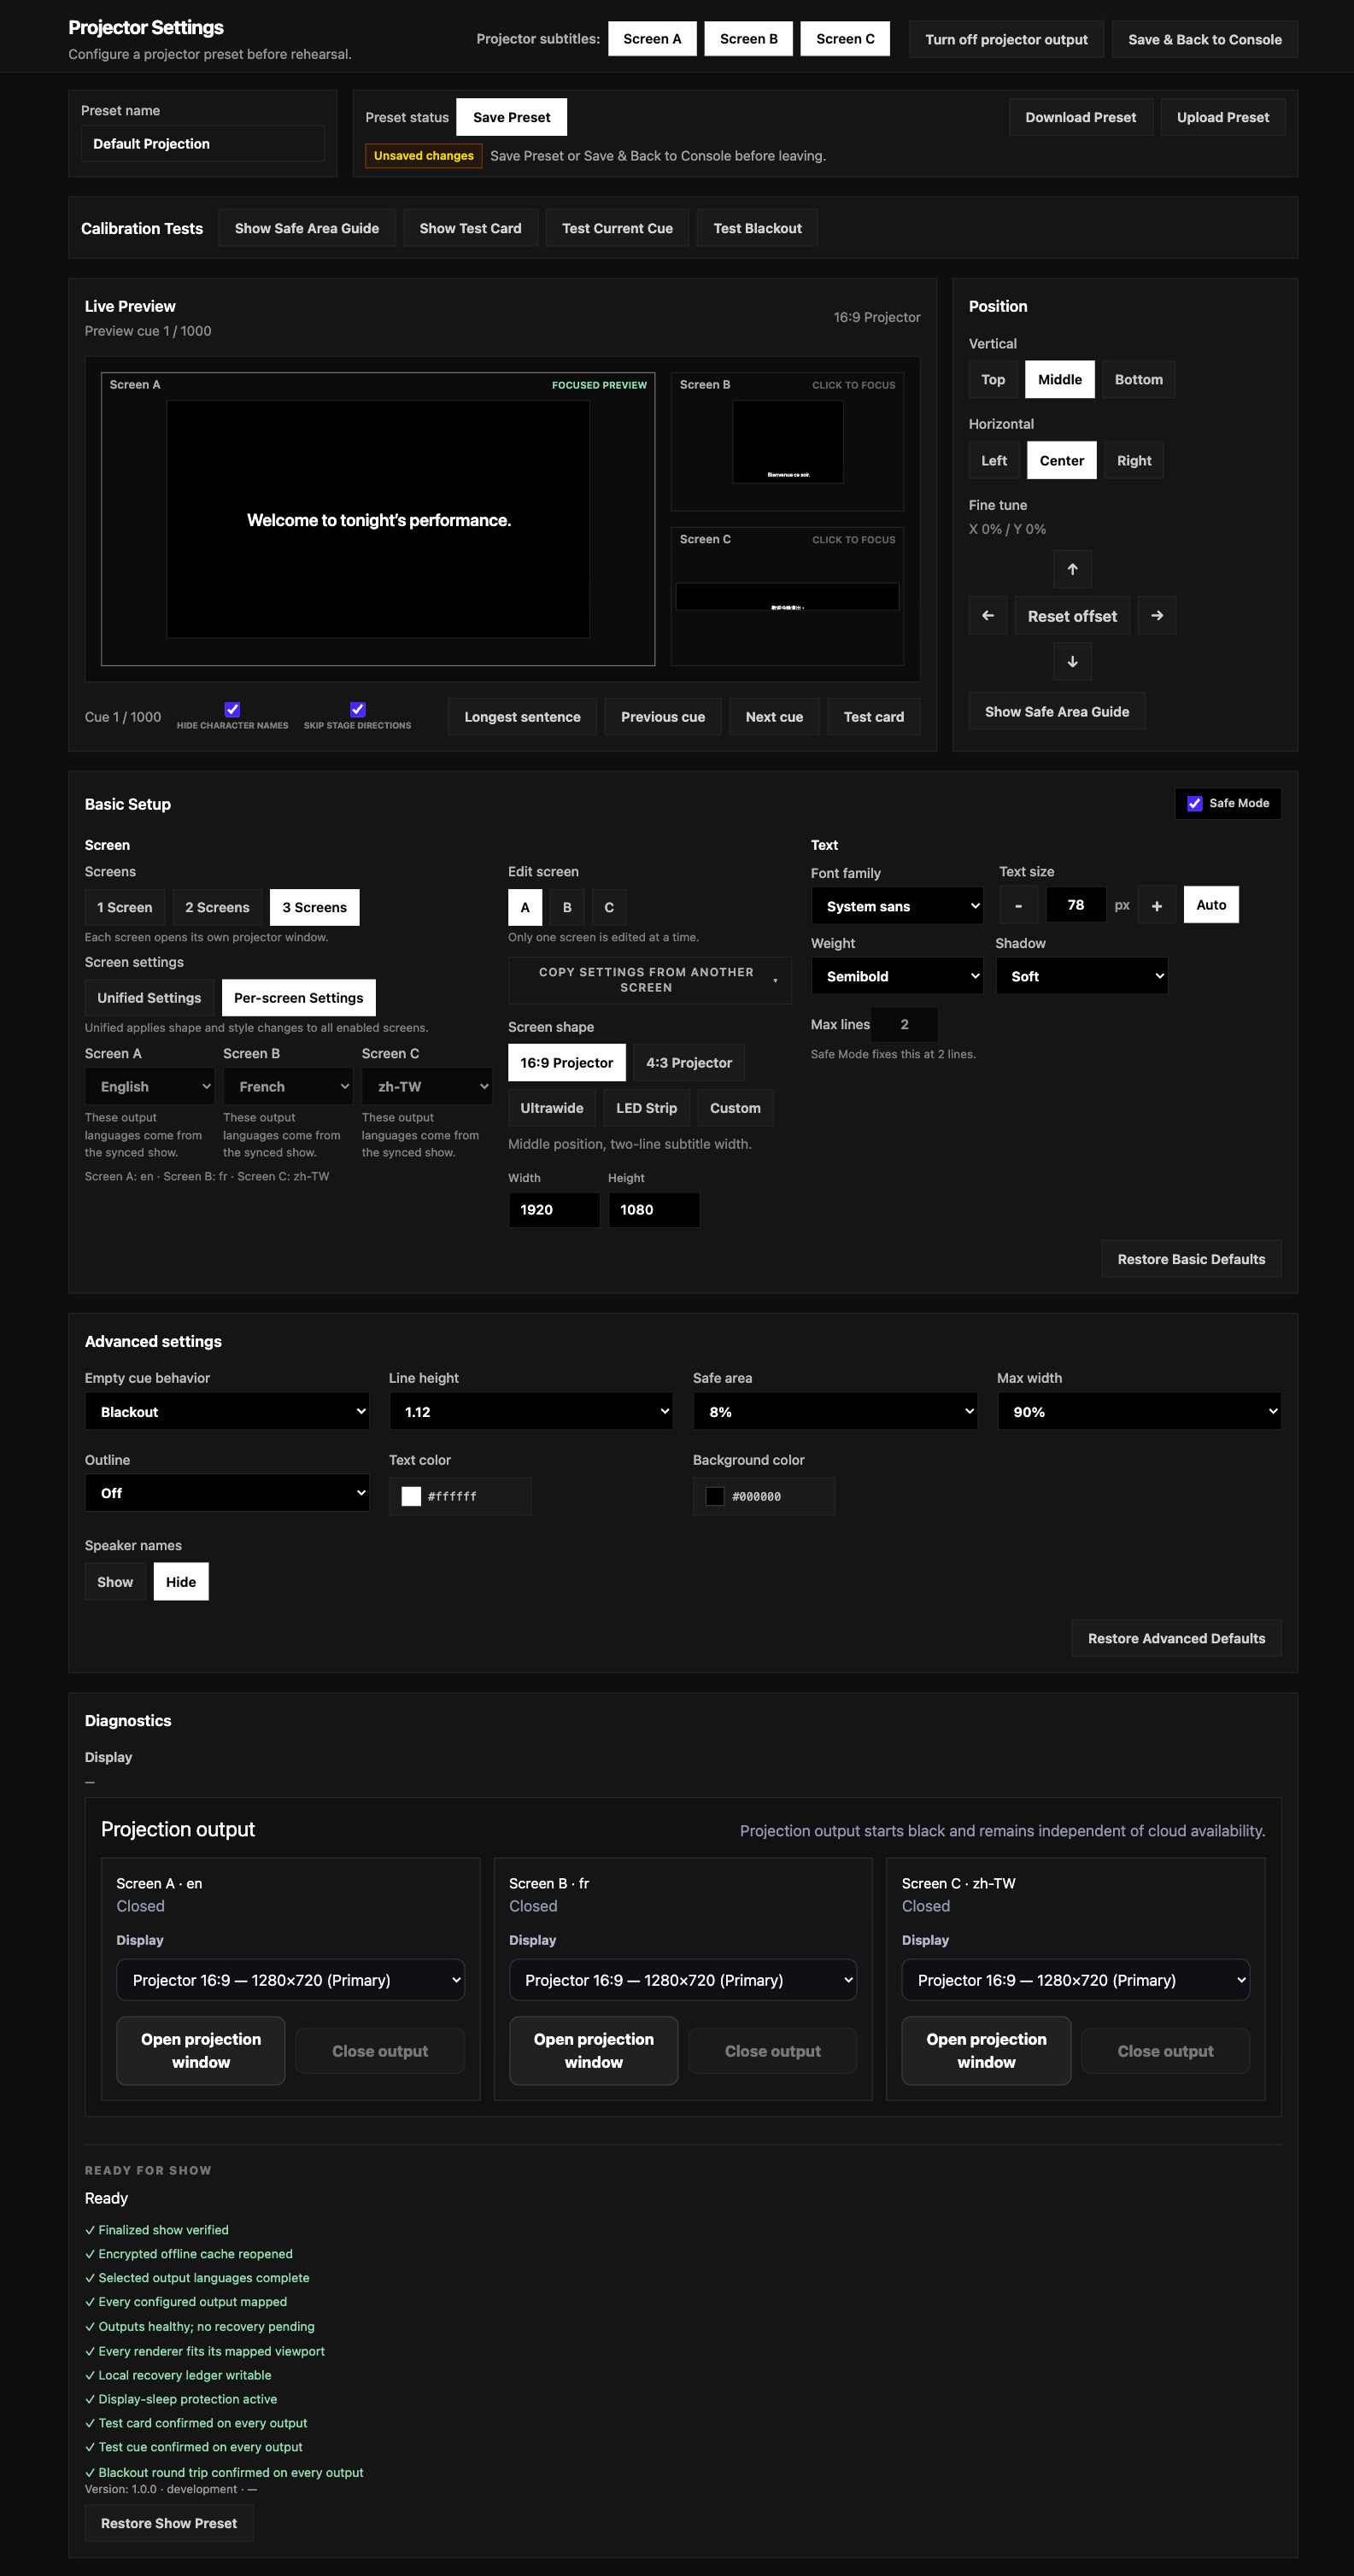
Screen count, language, unified settings, and displays
- Under
Screens, select1 Screen,2 Screens, or3 Screens. Outputs are named A, B, and C. - Screen A, B, and C show the languages assigned by the deployed show. These fields are locked in Pockitle Cue for Mac; you cannot change them or add a translation here. If the language assignment is wrong, correct it in Web Editor / deployment, deploy again, Sync, then explicitly open the new version.
- Select
Unified Settingsto apply adjustable projection formatting to every enabled screen, orPer-screen Settingsto adjust them separately. Still check each screen’s language and display assignment. - Choose an aspect ratio / output profile. For a custom stage, enter
WidthandHeight, then assign the correct display to A, B, and C. - Open each output you will use and inspect its text on the actual display. A working Preview does not prove that another screen is connected to the correct projector.
Font size, lines, Safe Mode, position, and appearance
Manualfont size accepts 18–140 px. The value applies when you leave the field. This is a fixed pixel size; the old 50 px upper limit does not apply.Autoselects a size based on the output dimensions and the measured preview of the longest cue. In Unified mode it calculates each enabled output separately. A long cue may still need line breaks or editing in Web Editor.Safe Modefixes the layout at 2 lines to help keep text readable. With Safe Mode off, long-text mode allows 1–50 lines. Inspect long cues on the real projection; if needed, split or rewrite them in Web Editor.- You can adjust font family, weight, text size, shadow, and maximum lines in Basic Setup. Position has its own section: choose vertical
Top,Middle, orBottom, and horizontalLeft,Center, orRight; use Fine Tune for small offsets andReset offsetto clear those offsets. New settings default to verticalMiddle; an existing saved setting keeps its saved position. Character namescontrols projected character labels. It is separate from skipping stage directions and from Viewer character-name settings.
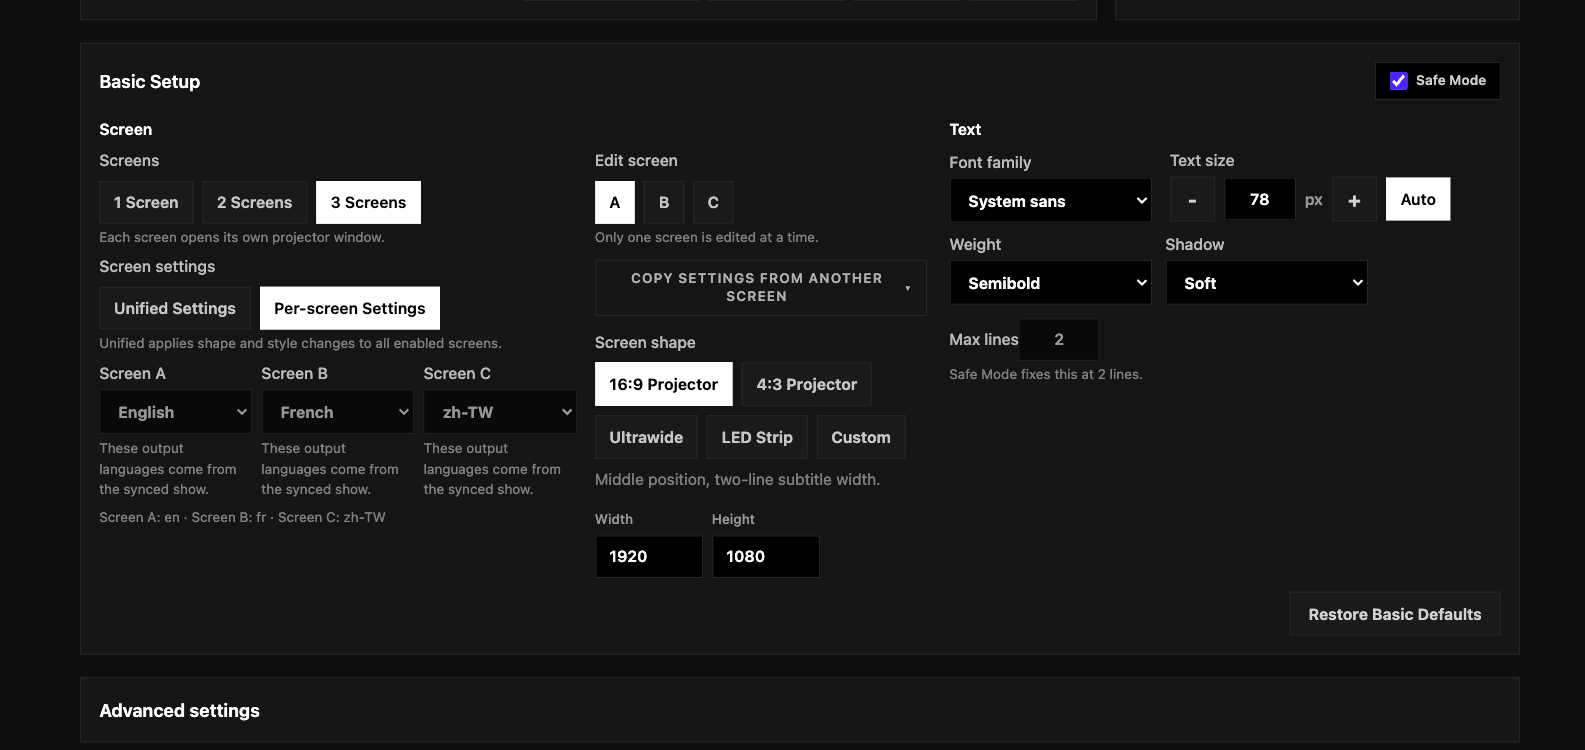
Live Preview, Longest, Test card, and Safe area
- Use
Previous cueandNext cueto preview nearby cues. UseLongest sentenceto find the longest cue in the source language. - Longest selects one source-language cue index for every screen. A, B, and C show that same cue in their respective languages; each screen does not choose a different sentence.
- Use
Test cardto preview a test card. Under Calibration Tests,Show Test Cardchecks aspect ratio and visible area;Show Safe Area Guideshows the safe boundary. Changing the cue in Settings preview changes only the preview position, not the audience cue currently Live. - Before the show, confirm the projection window is open, then check the test card and safe area. Outside Live, calibration can appear in the local output. During Live you can still open Settings and manage outputs; Preview, Longest, and calibration do not replace the audience cue. Applying font, position, or colour changes does change local projection.
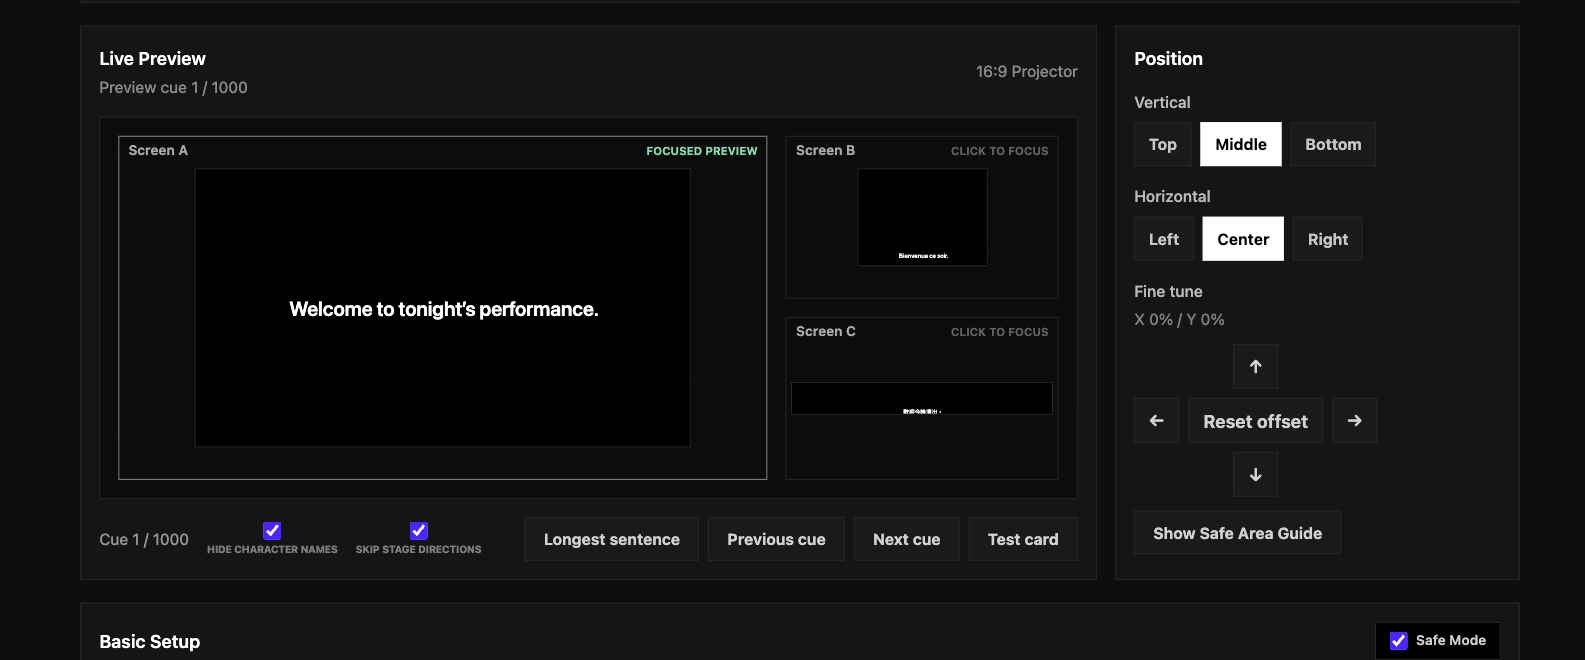
Advanced settings, Diagnostics, Save, and restore
- Expand
Advanced settingsfor Empty cue behavior, Line height, Safe area, Max width, Outline, Text color, Background color, and Speaker names. Changing Background color also changes the blackout background. There is no separate blackout-colour control in this screen. - Expand
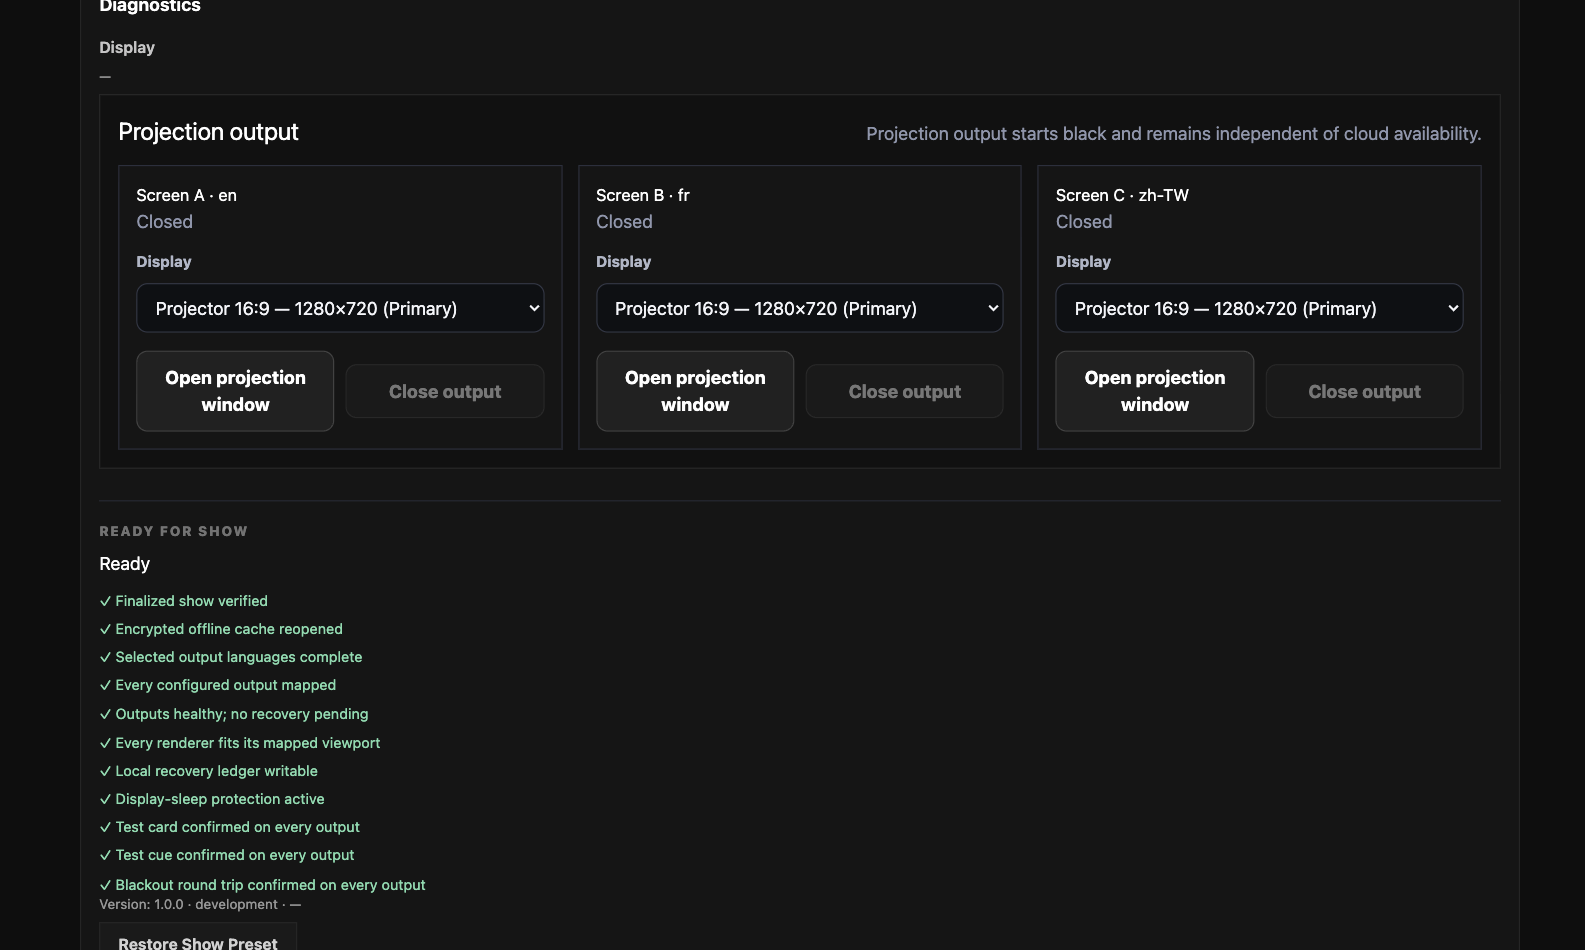
Diagnosticsto inspect the Mac display, map each output to a display, open or close an output, and check projection readiness. The test screenshot uses one simulated primary display for A, B, and C; choose the actual theatre display for each output on your own Mac. - Setting changes apply to the local Preview and projection as you make them; they do not change Viewer styling or Web Editor content. Select
Save Presetto save the edited output settings on this Mac.Save & Back to Consolesaves pending changes and returns to Console.Back without savingappears only when the App offers that recovery choice after a save/readiness problem. Restore Basic Defaultsresets the basic projection layout and text settings for the output being edited.Restore Advanced Defaultsresets the advanced values and content rules.Restore Show Presetrestores the show’s saved local preset. These reset actions apply their changes immediately; save afterward if you want to keep the restored values.
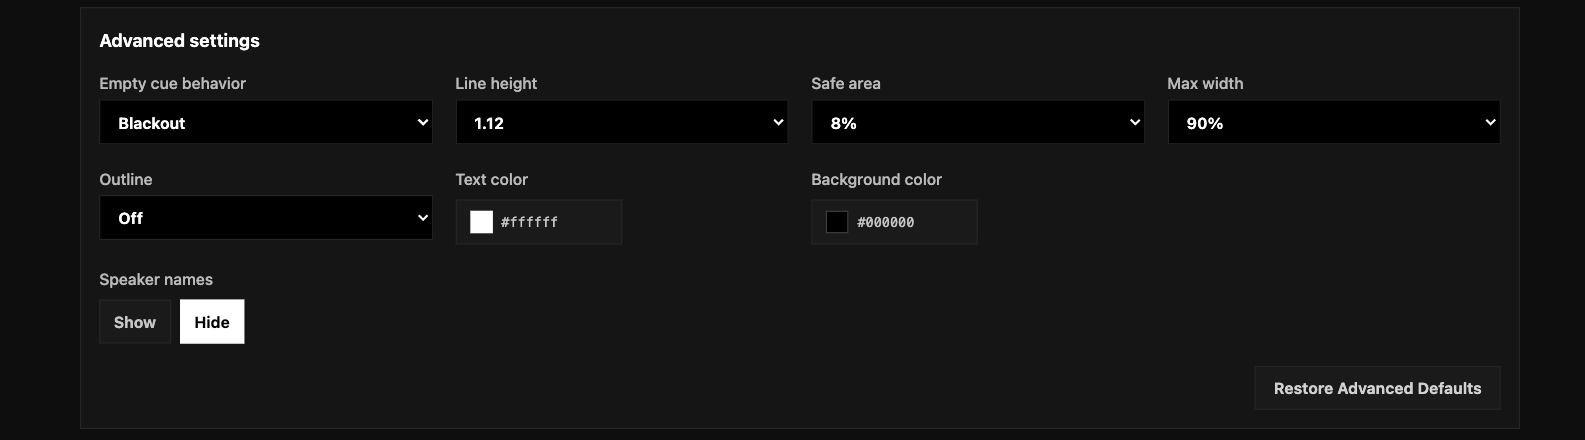
If something goes wrong: If Preview is unavailable, confirm the show is Ready, shorten the cue or adjust the output ratio, and try again. If Diagnostics disagrees with an output card, verify the actual window and report the support code.